
There are several options to sew a circle including hand and machine appliqué in different ways, reverse appliqué and machine piecing. Here I am sharing the technique I am most comfortable with and with which I have the best results.
Il existe plusieurs options pour coudre un cercle y compris l’appliqué main et machine de différentes manière, l’appliqué inversé et le piécé machine. Ici je vous partage la technique qui me convient le mieux et avec laquelle j’obtiens les meilleurs résultats.
Template
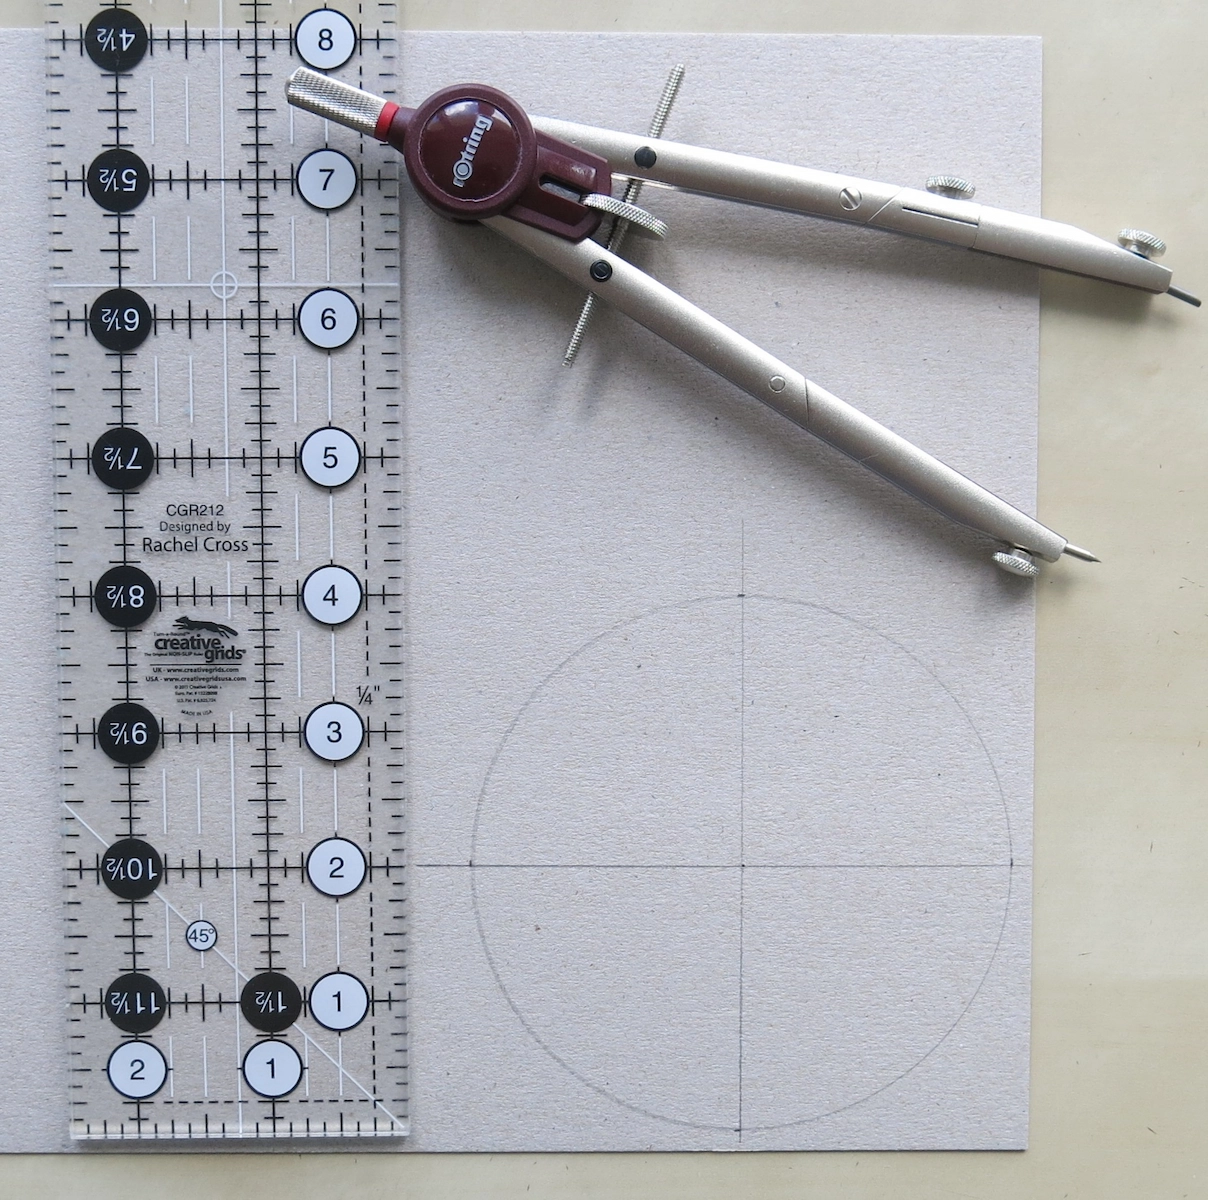
I trace a finished size template on a piece of cardboard and cut it carefully.
This technique implies the use of an iron to mark a pleat on the fabric all around the template. Use cardboard or any other material which can be heated for making your template.
I use a not too thick piece of cardboard which makes easier to mark the pleat on the fabric.
Je trace un gabarit taille finie sur un morceau de carton et le coupe soigneusement.
Cette technique implique l’utilisation d’un fer à repasser pour marquer un pli sur le tissu tout autour du gabarit. Utilisez du carton ou toute autre matière qui peut être chauffée pour réaliser votre gabarit.
J’utilise un morceau de carton pas trop épais ce qui facilite le marquage du pli sur le tissu.
Appliqué Piece
Tracing
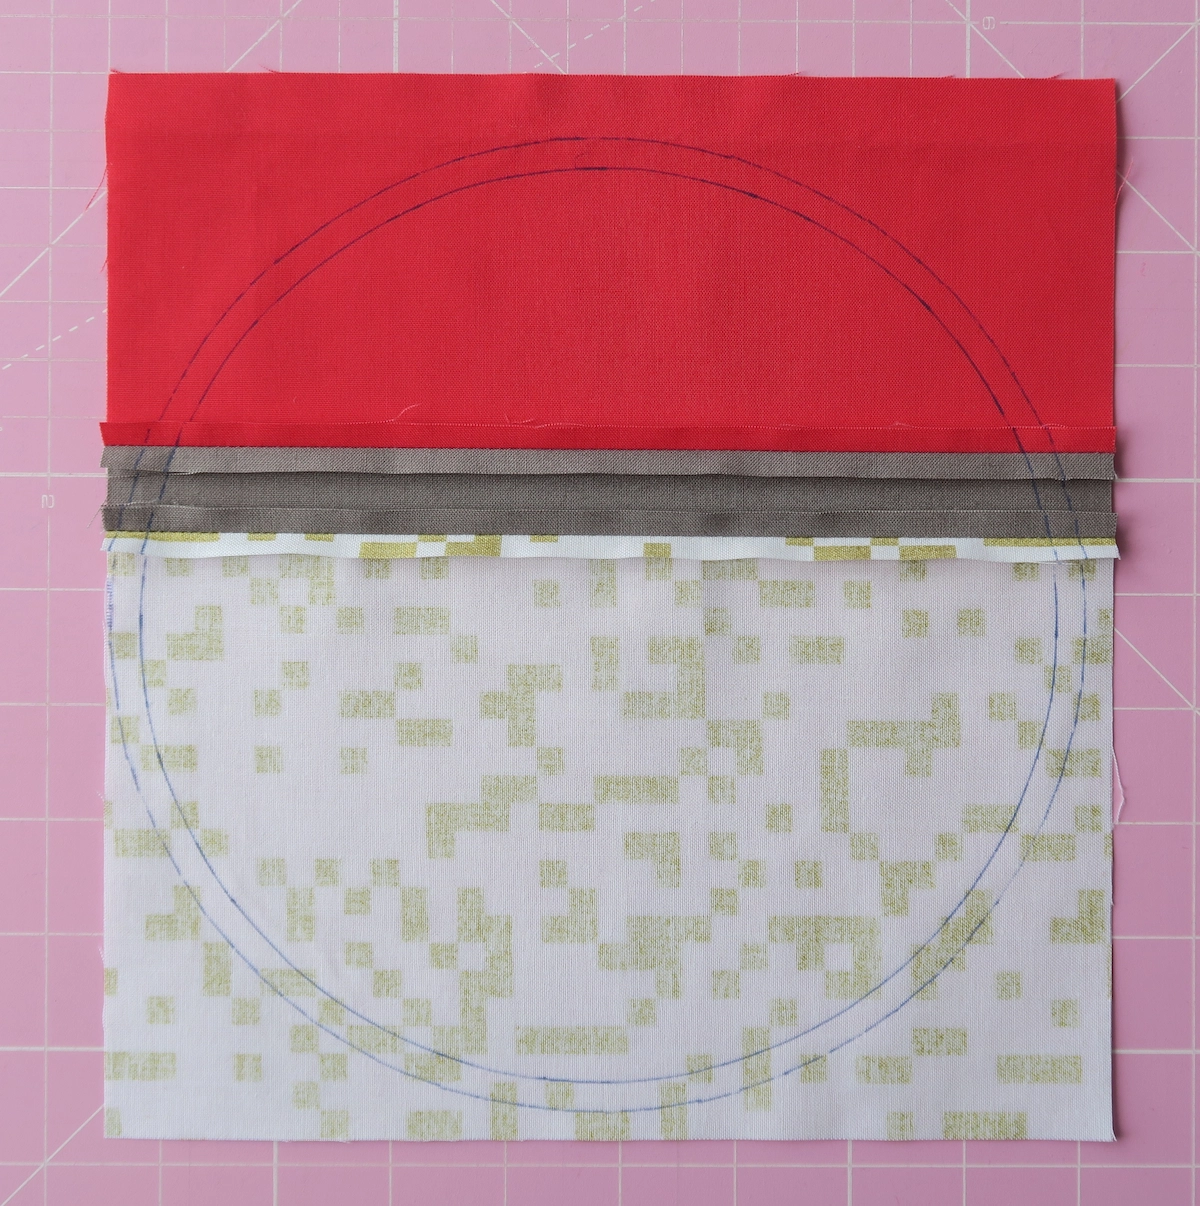
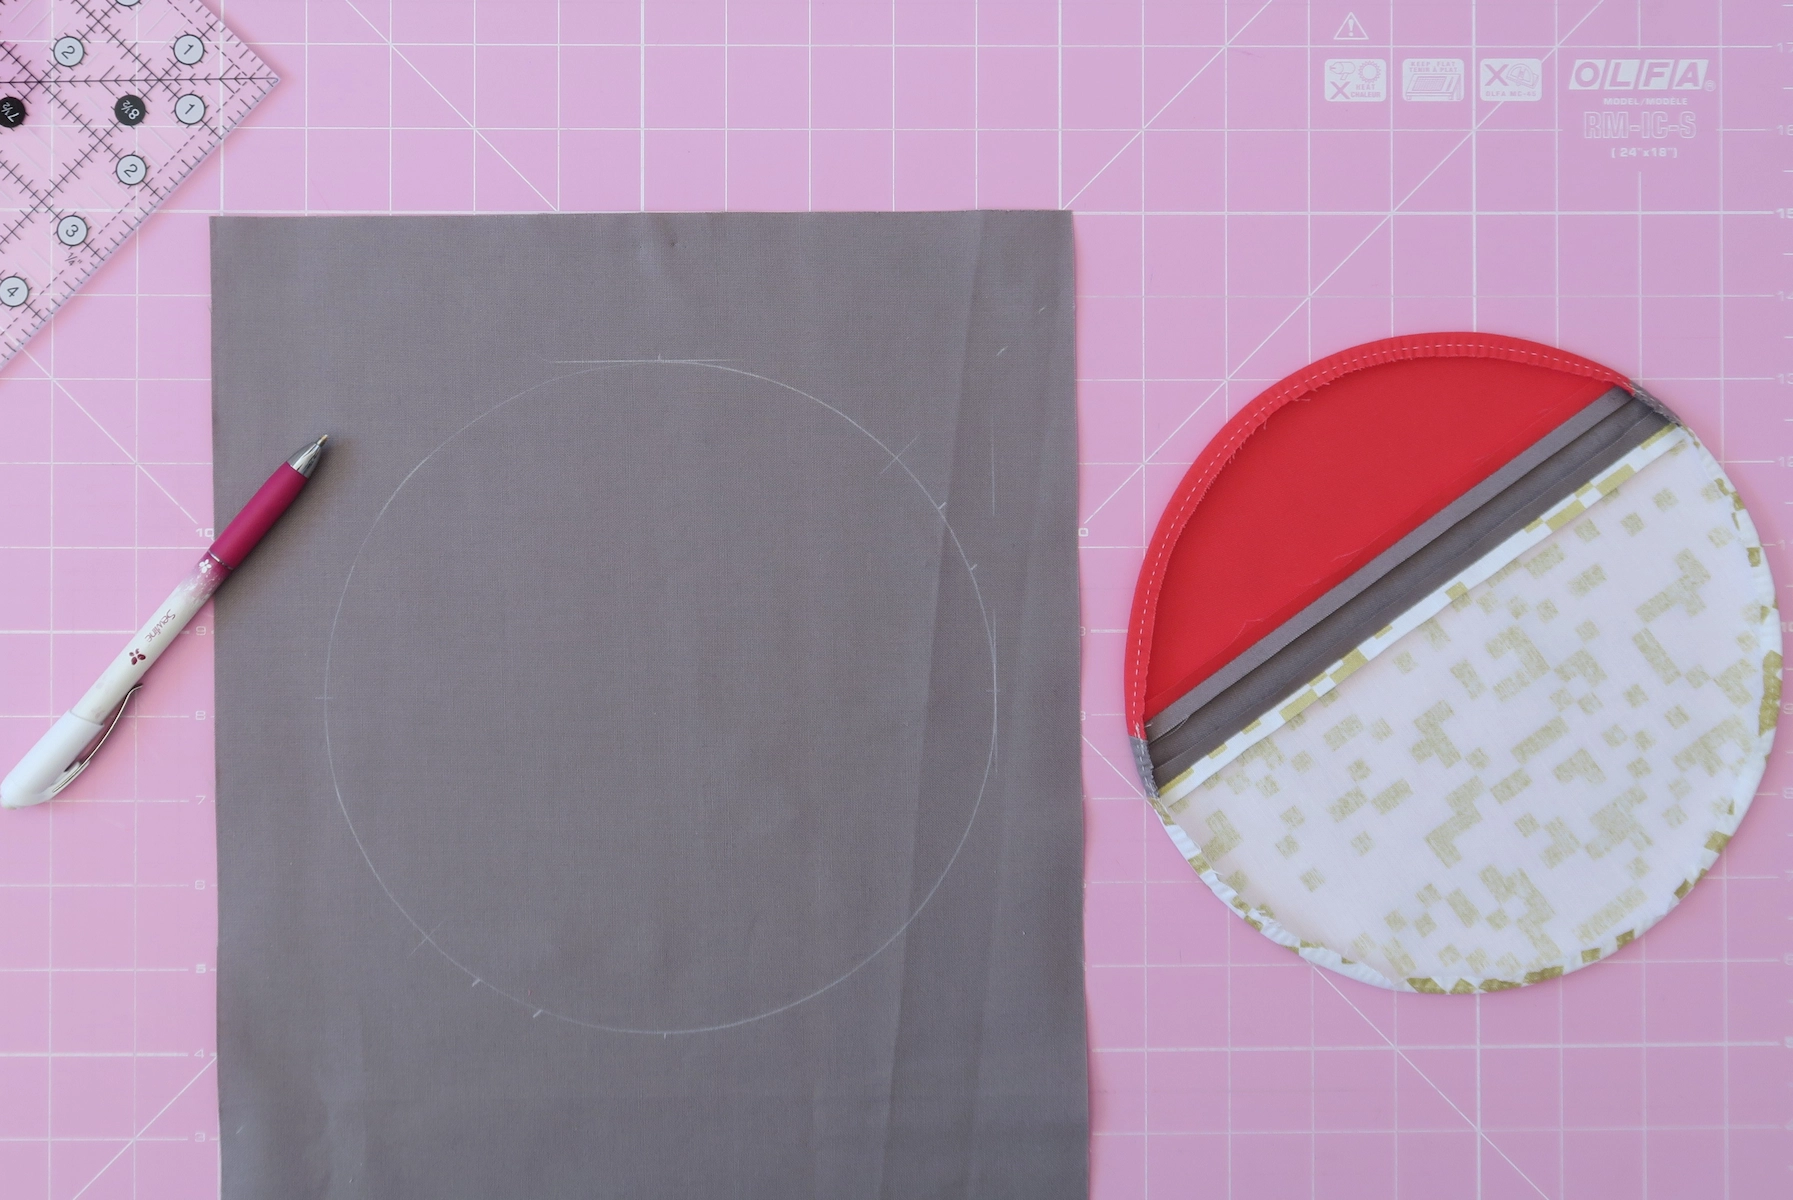
Using my template, I trace a circle on the wrong side of my applique fabric. I then trace a quarter inch seam allowance all round. To do it, I use a transparent template which is the size of my finished circle plus the quarter inch seam allowance.
A consistent seam allowance gives a neater result, especially with a light fabric. A quarter inch is a good compromise for the seam allowance. Beyond that size you may have pleats.
A l’aide de mon gabarit, je reporte un cercle sur l’envers du tissu à appliquer. Je trace ensuite une marge de couture d’un quart d’inch (0.6 cm) tout autour. Pour le faire, j’utilise un gabarit transparent qui mesure la taille de mon cercle terminé plus le quart d’inch de marge de couture.
Une marge de couture régulière donne un résultat plus soigné, en particulier avec un tissu clair. Un quart d’inch est un bon compromis pour la marge de couture. Au-delà de cette taille, vous risquez d’avoir des plis.
Securing Seams
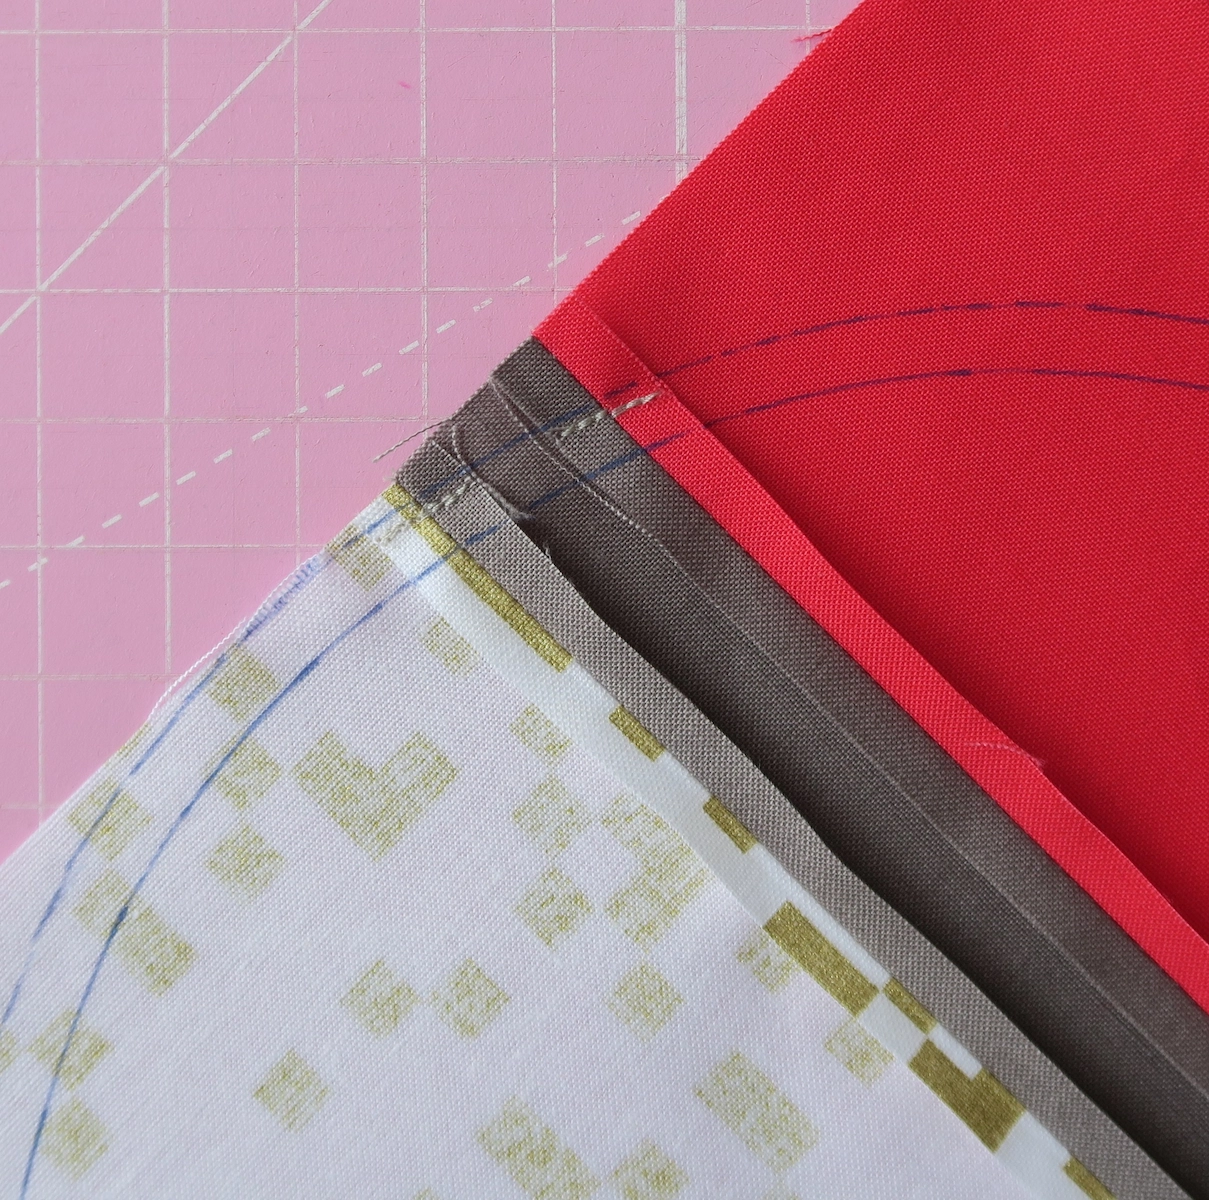
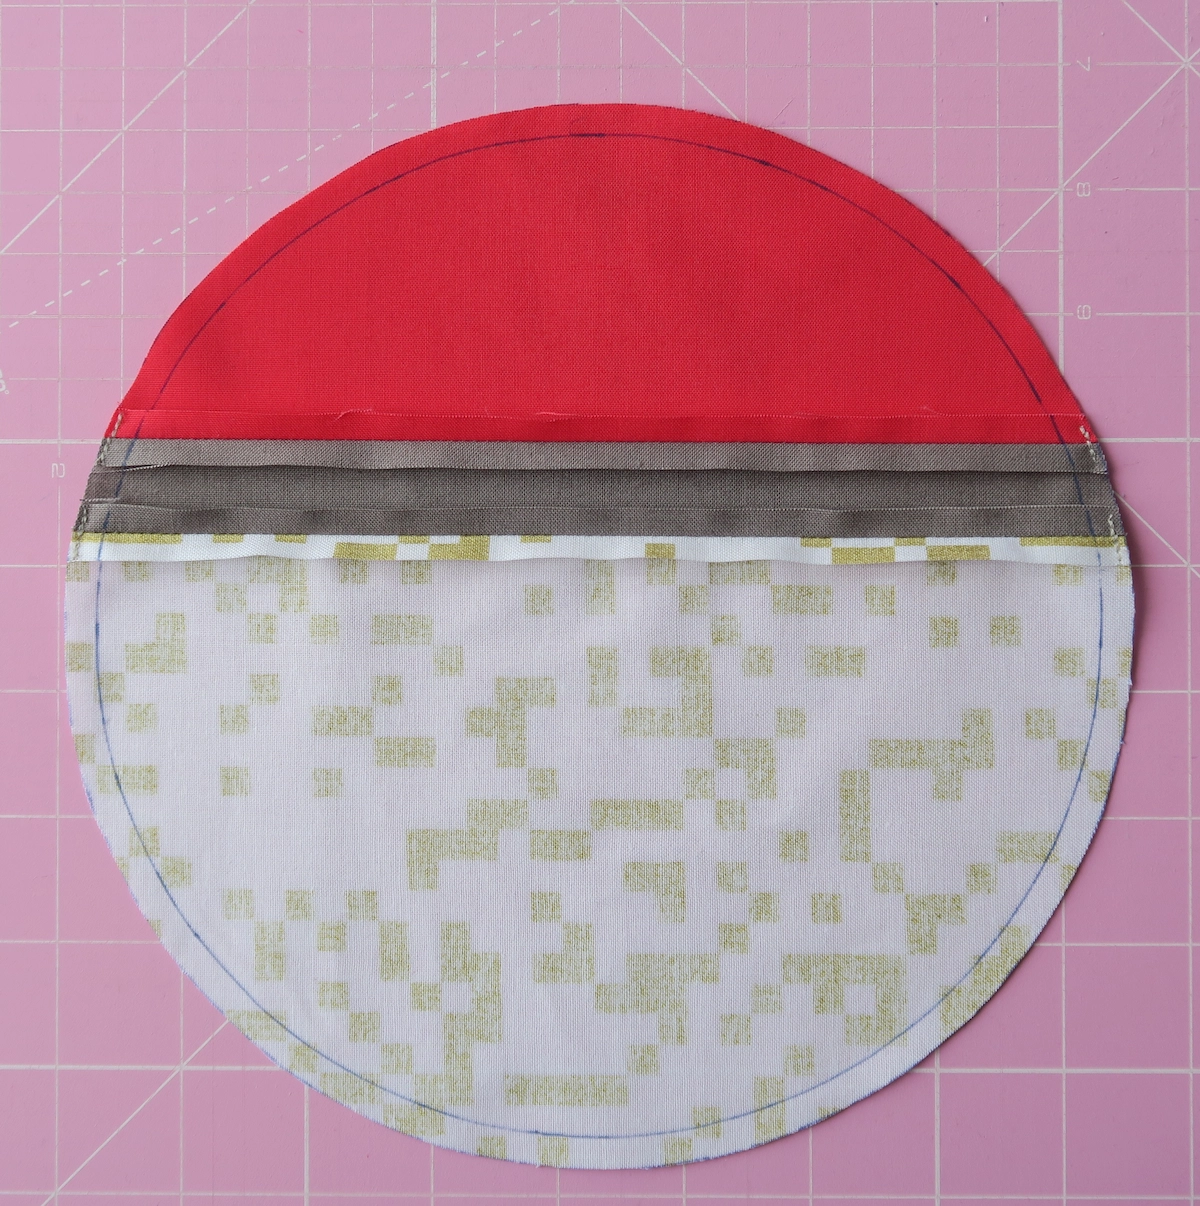
When I work with a pieced circle, I secure the piecing seams before cutting my circle. To do this, I add machine stitches in the seam allowance of the circle.
You can skip this step if you work with a plain circle.
Quand je travaille avec un cercle piécé, je sécurise les coutures d’assemblage avant de couper mon cercle. Pour ce faire, j‘ajoute des points à la machine dans la marge de couture du cercle.
Vous pouvez ignorer cette étape si vous travaillez avec un cercle simple.
Cutting
Cut the circle on the outer line.
Coupez le cercle sur la ligne extérieure.
Running Stitches
I use a polyester sewing thread for its strength. I cut a length of thread sufficient for the perimeter of the circle plus a thread tail, to be distributed between the beginning and the end of the seam.
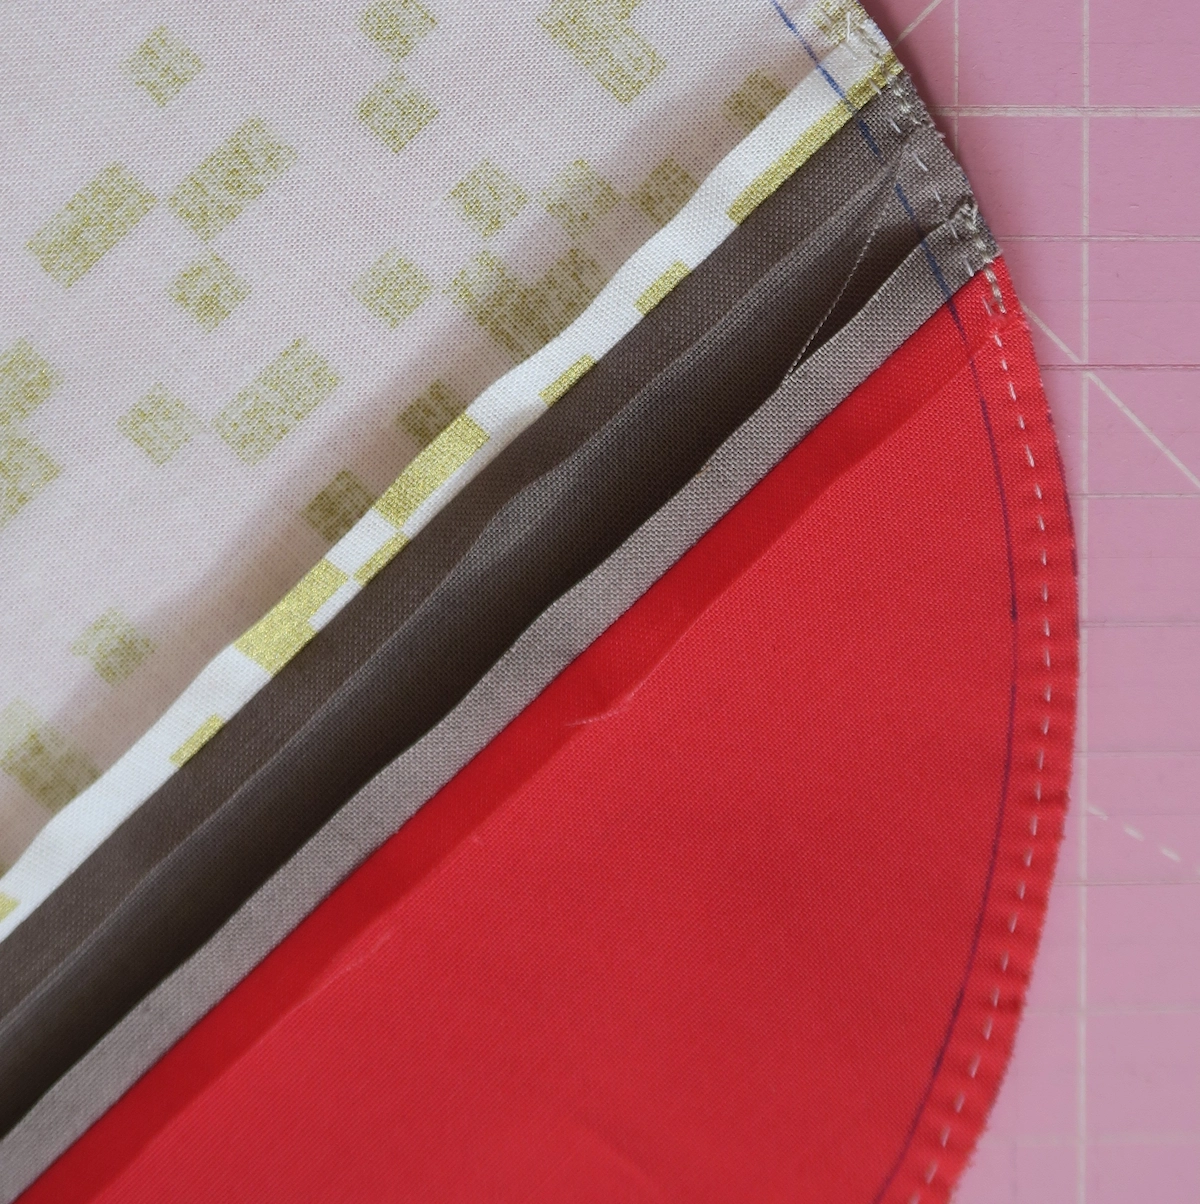
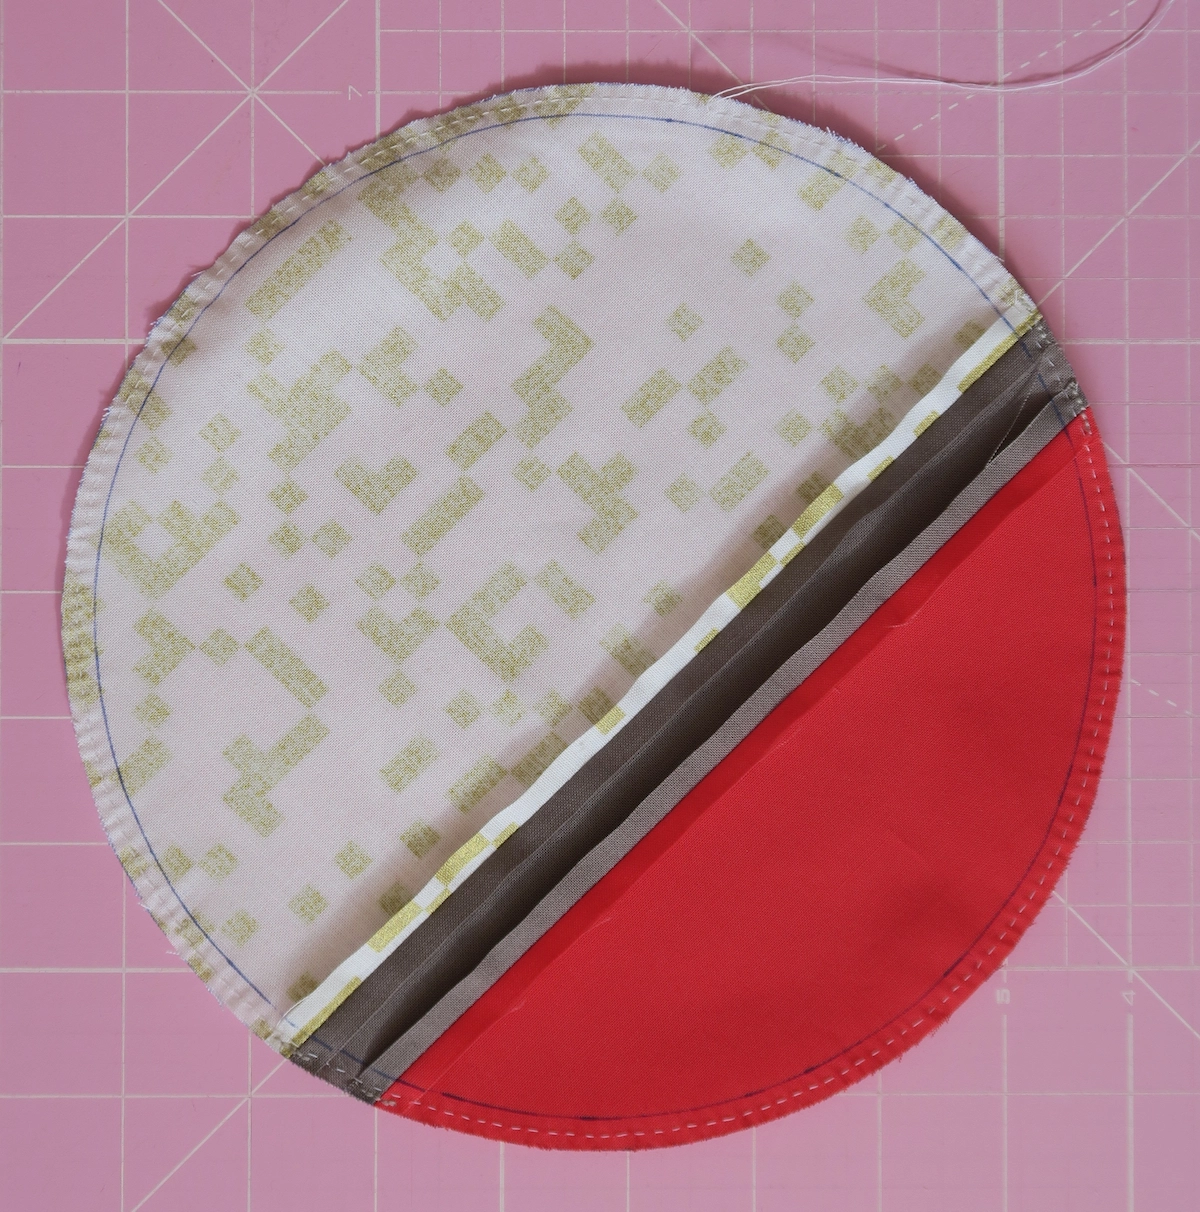
I sew running stitches all round my circle, approximately midway between the marked line and the raw edge. Do not knot the thread at the beginning or the end of the seam.
I sew small stitches which is essential to prevent pleats or angles and get a perfect circle. Pull the thread slightly so that you don’t gather the fabric at this stage. The thread will have to slide later in the process so make sure it doesn’t get tangled.
J’utilise un fil à coudre polyester pour sa solidité. Je coupe une aiguillée de fil suffisante pour le périmètre du cercle plus une longueur de fil libre, à répartir en début et fin de couture.
Je couds au point droit tout autour de mon cercle, environ à mi-distance entre la ligne marquée et le bord du tissu. Ne nouez pas le fil ni au début ni à la fin de la couture.
Je réalise des petits points ce qui est essentiel pour éviter les plis ou angles et obtenir un cercle parfait. Tirez doucement sur le fil pour ne pas froncer le tissu à cette étape de la réalisation. Le fil devra coulisser plus tard dans le processus, assurez-vous donc qu’il ne s’emmêle pas.
Position the Template
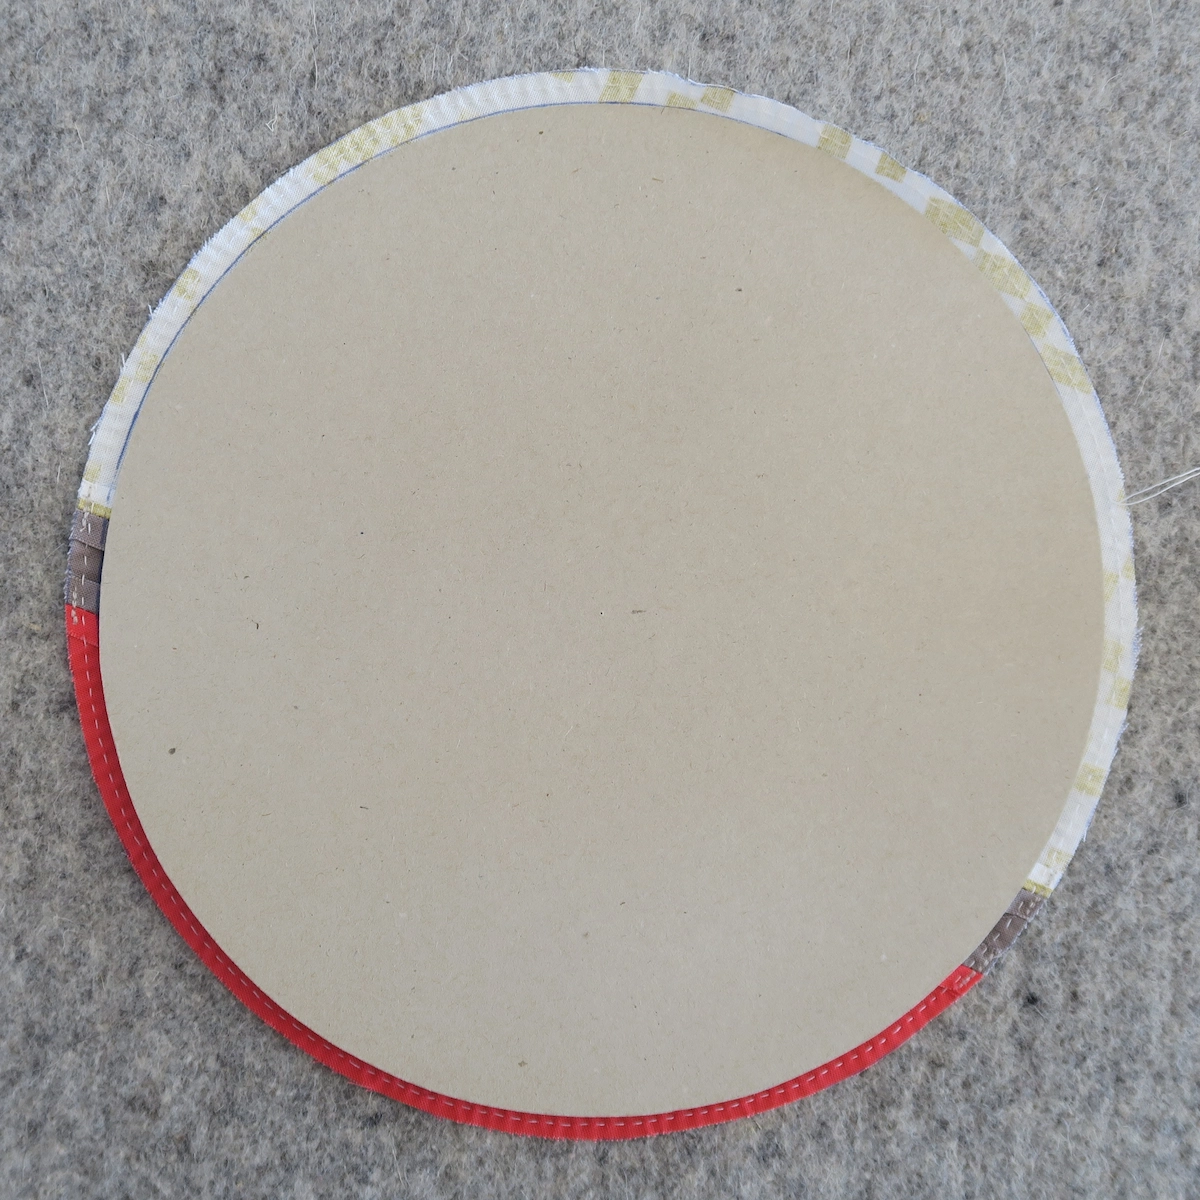
Working on your ironing board, place your fabric circle wrong side up and center the cardboard template over it.
En travaillant sur votre planche à repasser, placez votre cercle en tissu côté envers contre le haut et centrez votre gabarit en carton par-dessus.
Pull the Thread
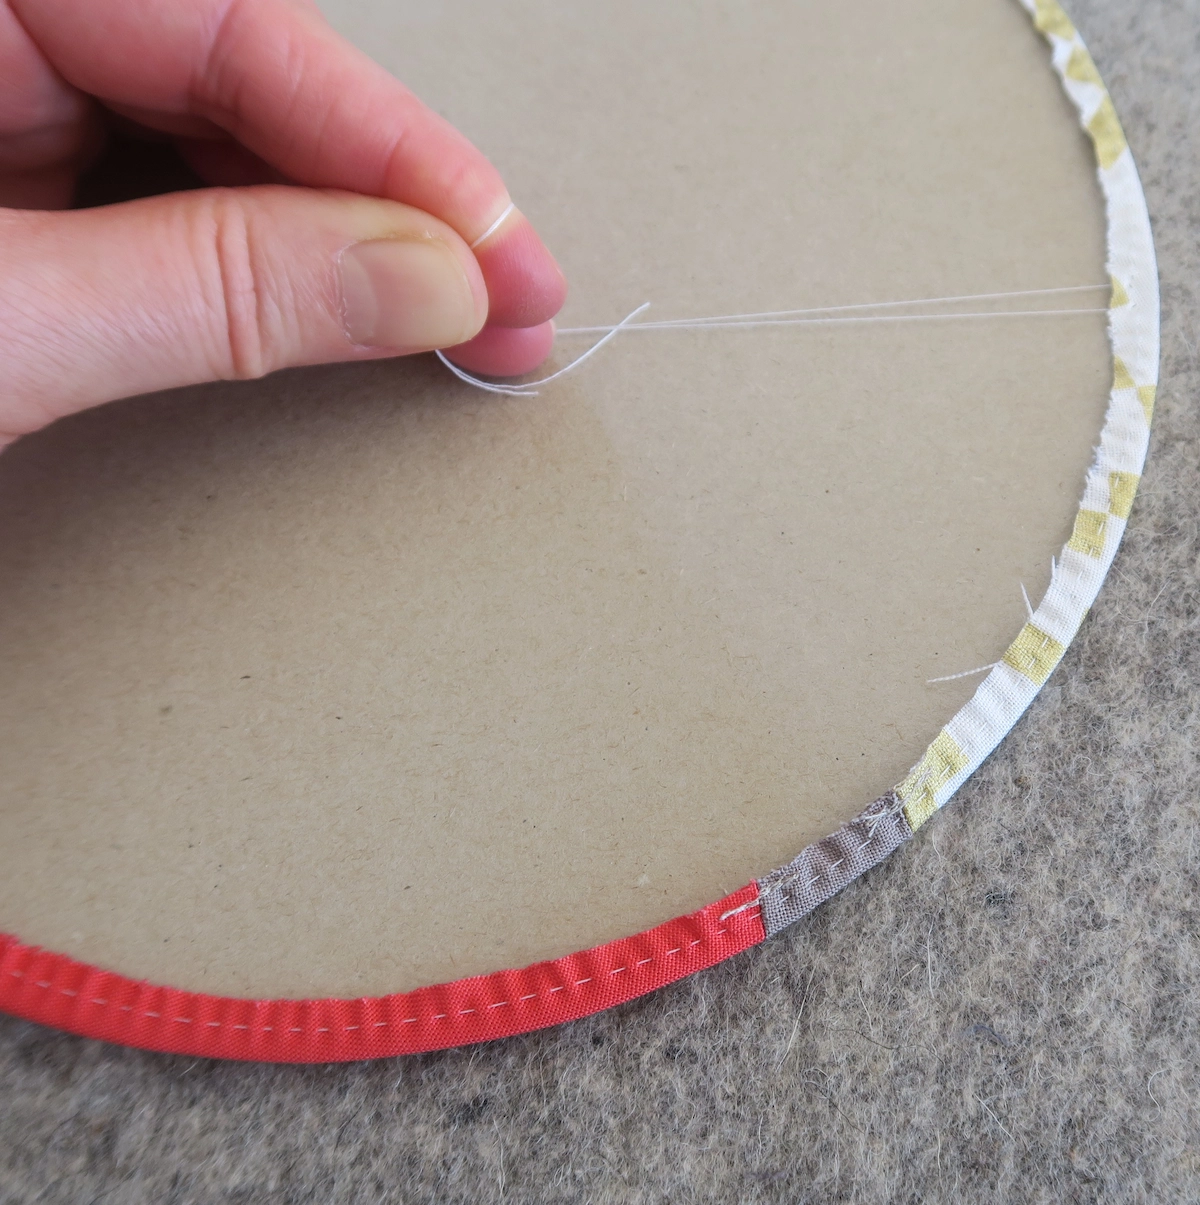
Hold firmly the cardboard template with one hand and pull carefully on the ends of the thread with the other hand.
Tenez fermement le gabarit en carton avec une main et tirez délicatement sur les extrémités du fil avec l’autre main.
Press
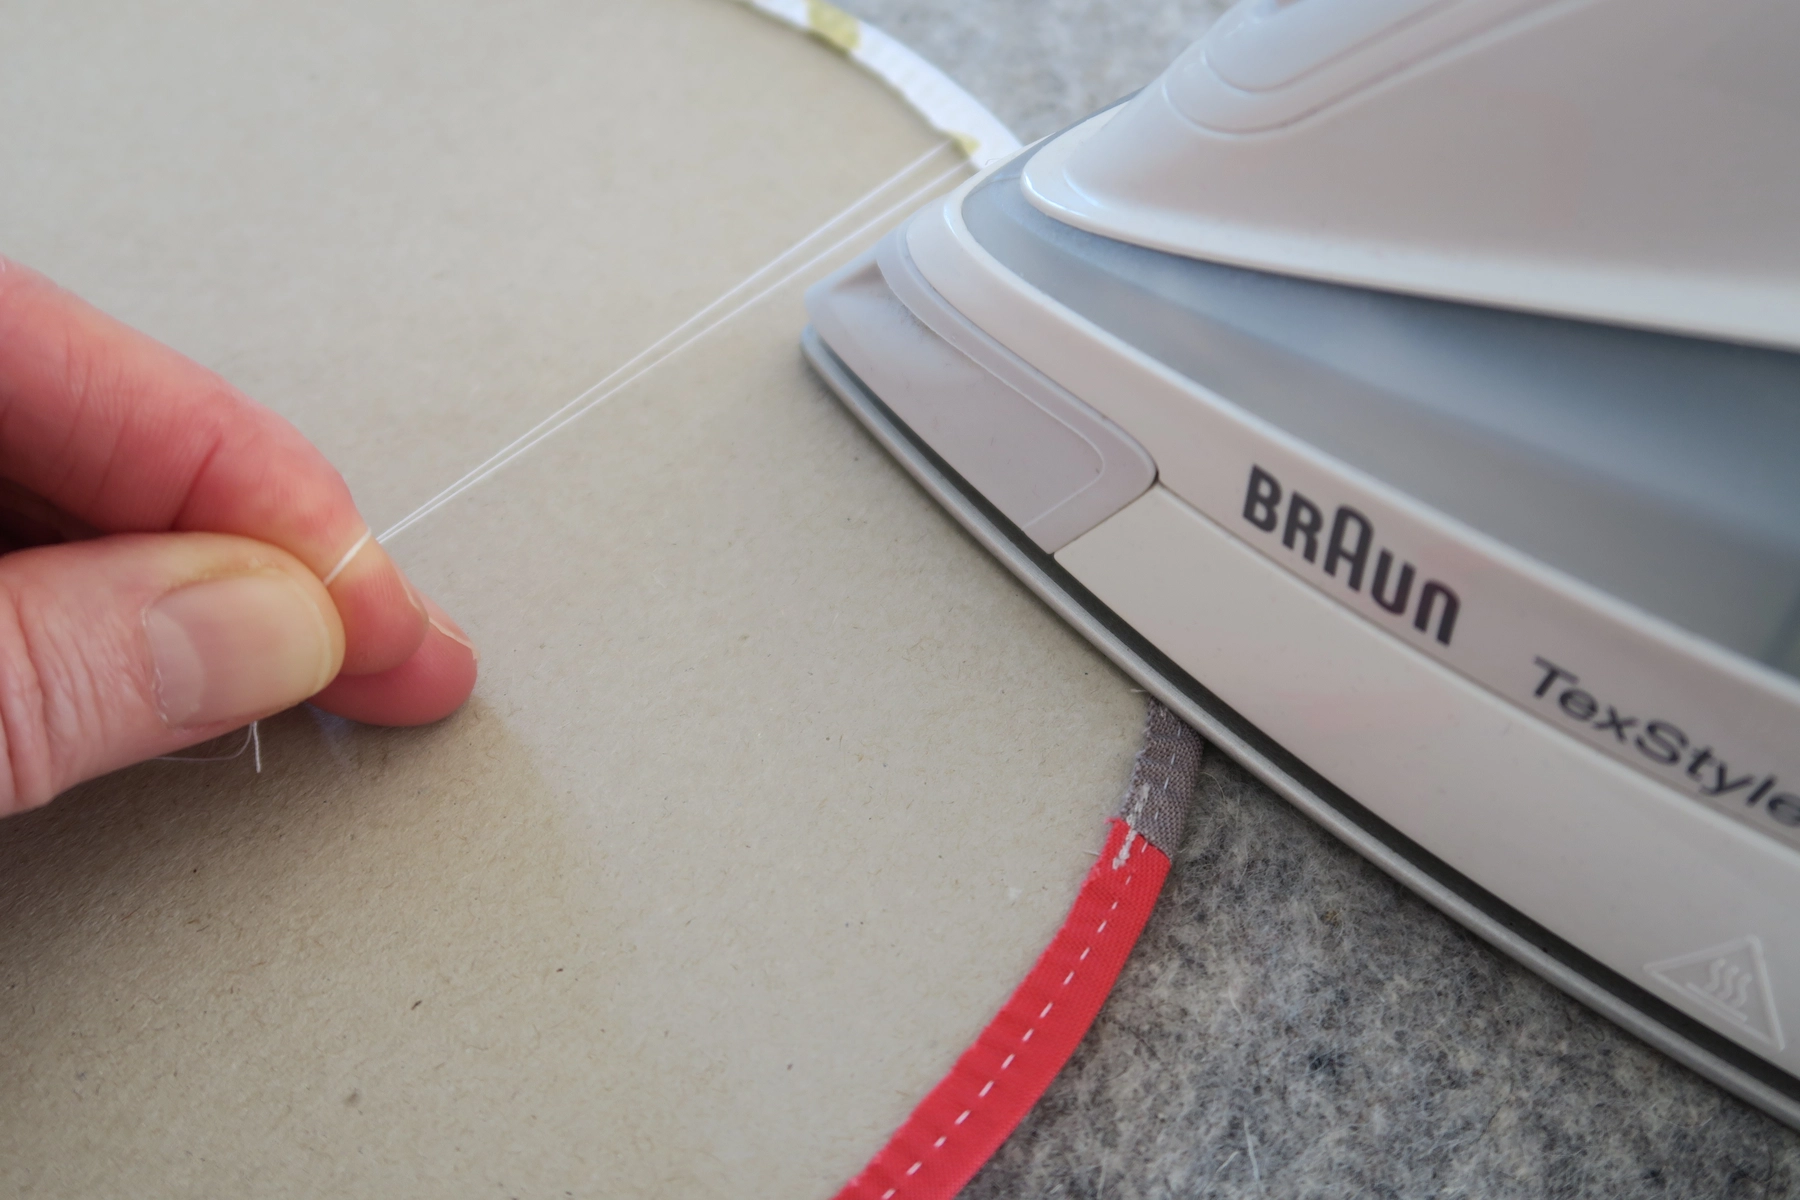
Hold firmly the two ends of the thread and press with your iron the edge of the circle. I use steam to mark the fold well.
I happened to also use a bit of starch but I gave up when I got one of my fabric stained …
Tenez fermement les deux extrémités du fil et pressez avec votre fer le bord du cercle. J’utilise de la vapeur pour bien marquer le pli.
Il m’est arrivé d’utiliser un peu d’amidon mais j’ai arrêté quand je me suis retrouvée avec un de mes tissus taché …
Remove the Template
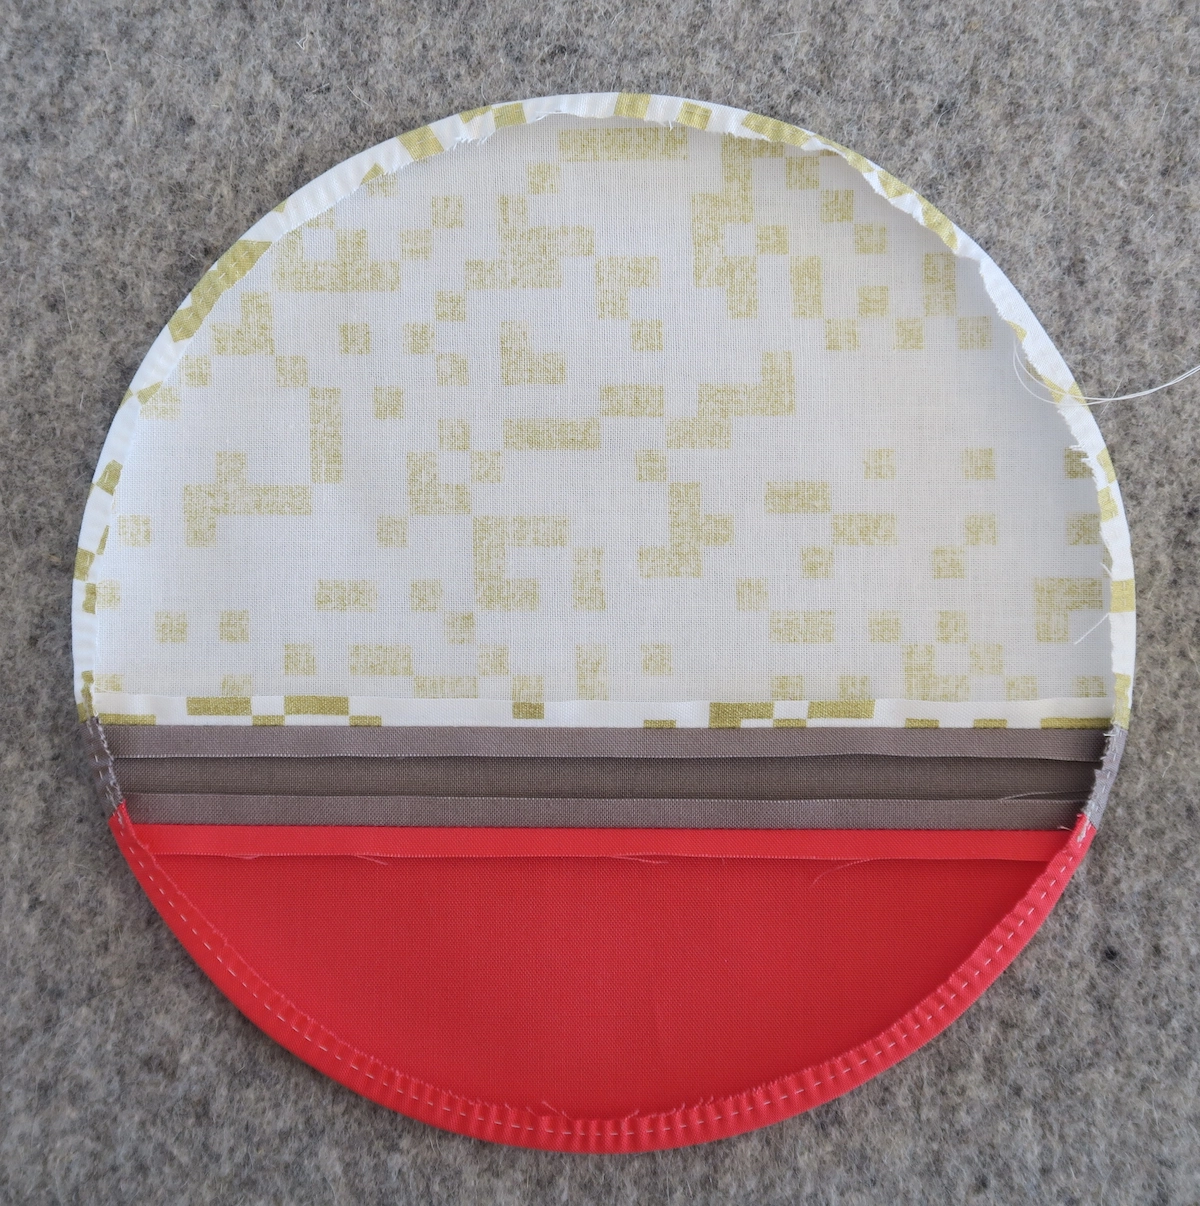
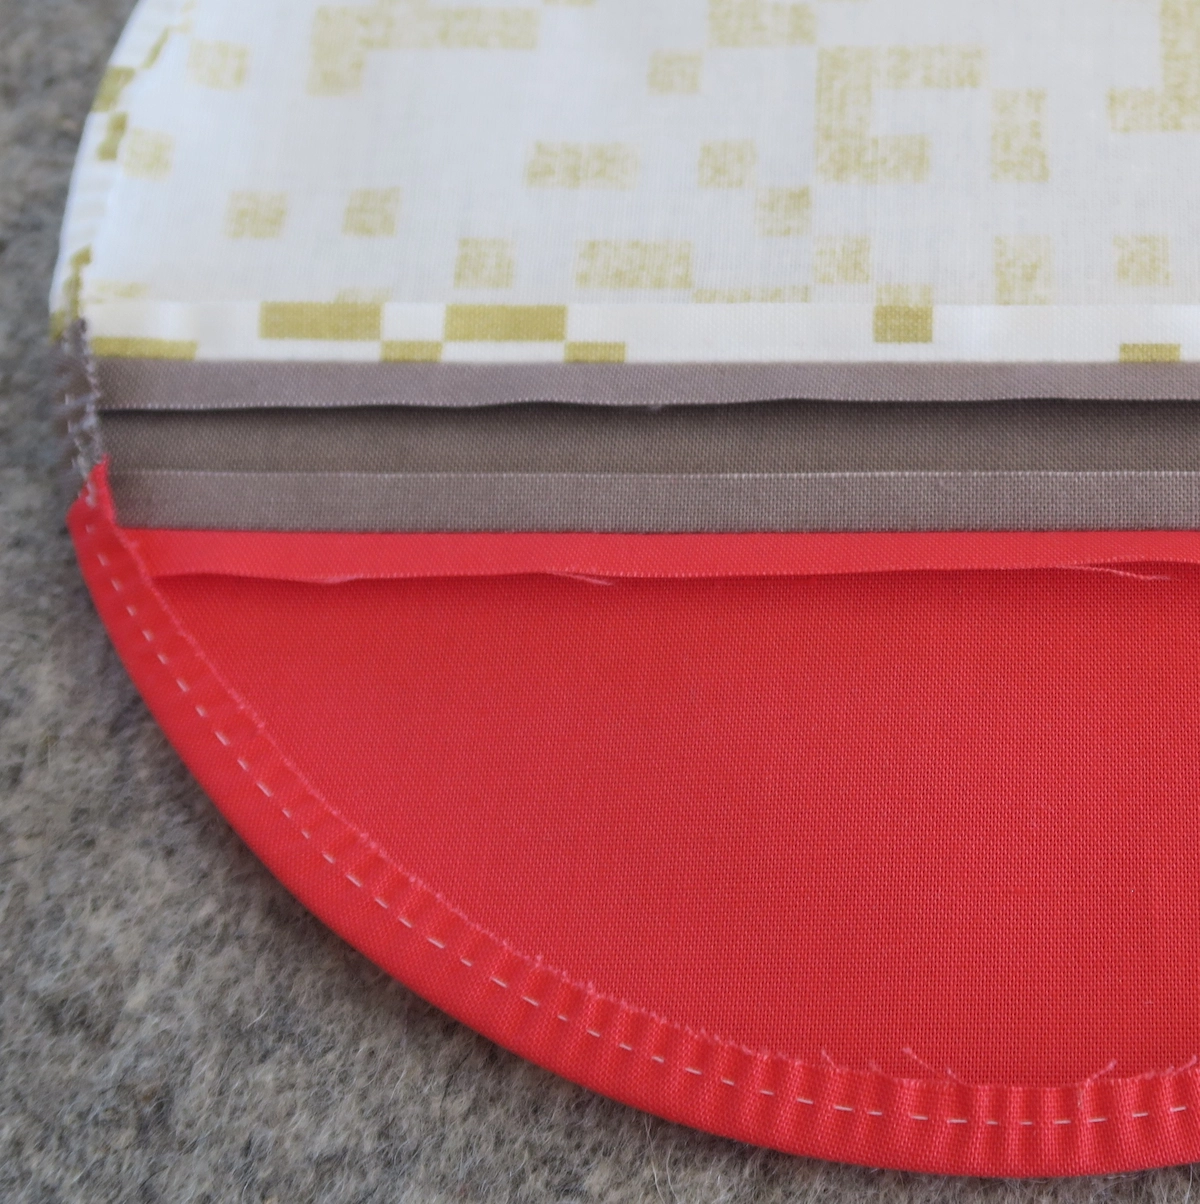
Remove carefully the cardboard template making sure you don’t distort the fabric circle ! I leave the thread in place and just cut the tails.
Retirez avec précaution le gabarit en carton en vous assurant de ne pas déformer le cercle en tissu ! Je laisse le fil en place et coupe juste les extrémités.
Background
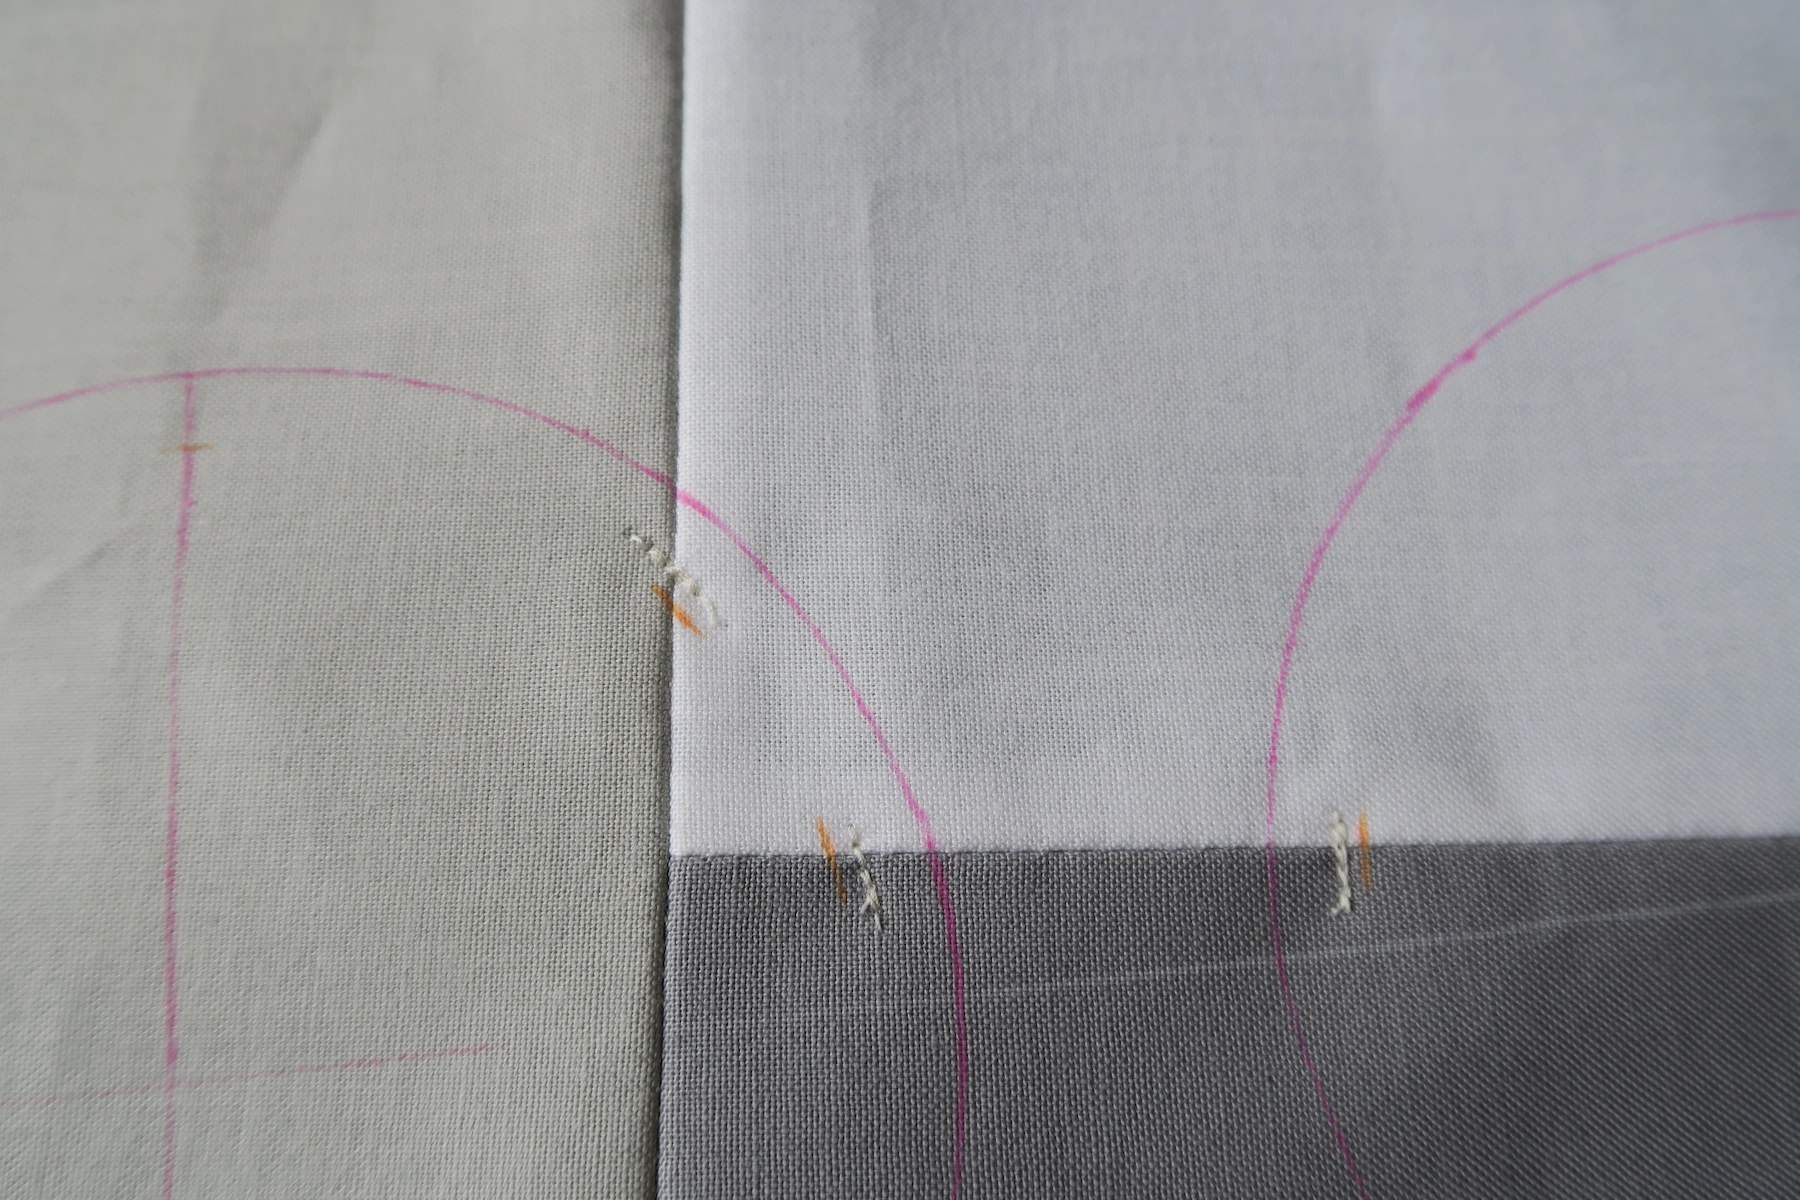
I usually trace the position of the circle on the right side of my background fabric. This step is necessary for an accurate placement of the appliqué piece but might be optional depending on your project.
En général, je marque la position du cercle sur l’endroit de mon tissu de fond. Cette étape est nécessaire pour positionner précisément la pièce à appliquer mais peut être optionnelle selon votre projet.
Pieced Background
As you will see in the last step of my process, I usually cut the piece of background under my appliqué circle. So when I work on a pieced background, I secure the piecing seams with a few machine stitches inside the seam allowance of the circle.
Comme vous le verrez dans la dernière étape de mon processus, j’enlève en général la pièce de fond qui se trouve sous mon cercle appliqué. Donc quand je travaille sur un fond piécé, je sécurise les coutures d’assemblage avec quelques points machine à l’intérieur de la marge de couture du cercle.
Basting
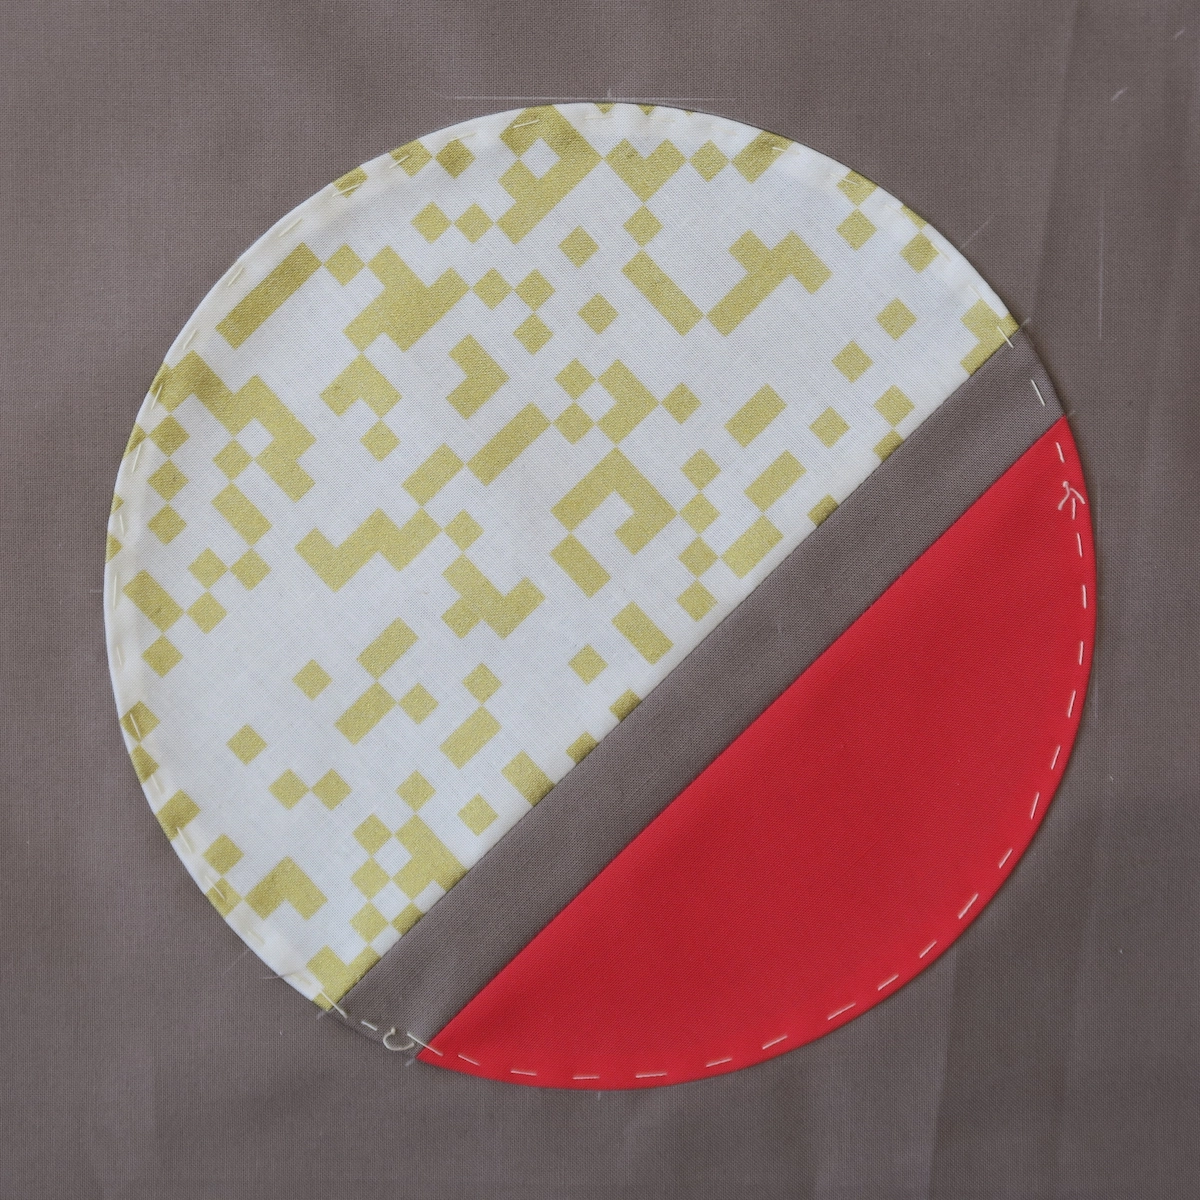
I position my appliqué piece onto the background fabric, hold it in place using a few pins and then attach it using basting stitches.
I used to work only with pins but now find it more comfortable to handle a basted piece. It also allows me to have several circles ready to be appliqued on the same background piece.
Je positionne ma pièce d’appliqué sur le tissu de fond, la maintiens en place avec quelques épingles et ensuite la fixe avec des points de faufil.
J’avais l’habitude de ne travailler qu’avec des épingles mais maintenant je trouve plus confortable de manipuler une pièce faufilée. Cela me permet aussi d’avoir plusieurs cercles prêts à être appliqués sur la même pièce de fond.
Stitching
Choose a fine thread and a colour matching the fabric of the circle you want to applique. In doing so, the thread will sink into the fabric and practically disappear. I use the Fil à gant product line from the French brand Fil au chinois but there are many other appliqué thread options from different manufacturers.
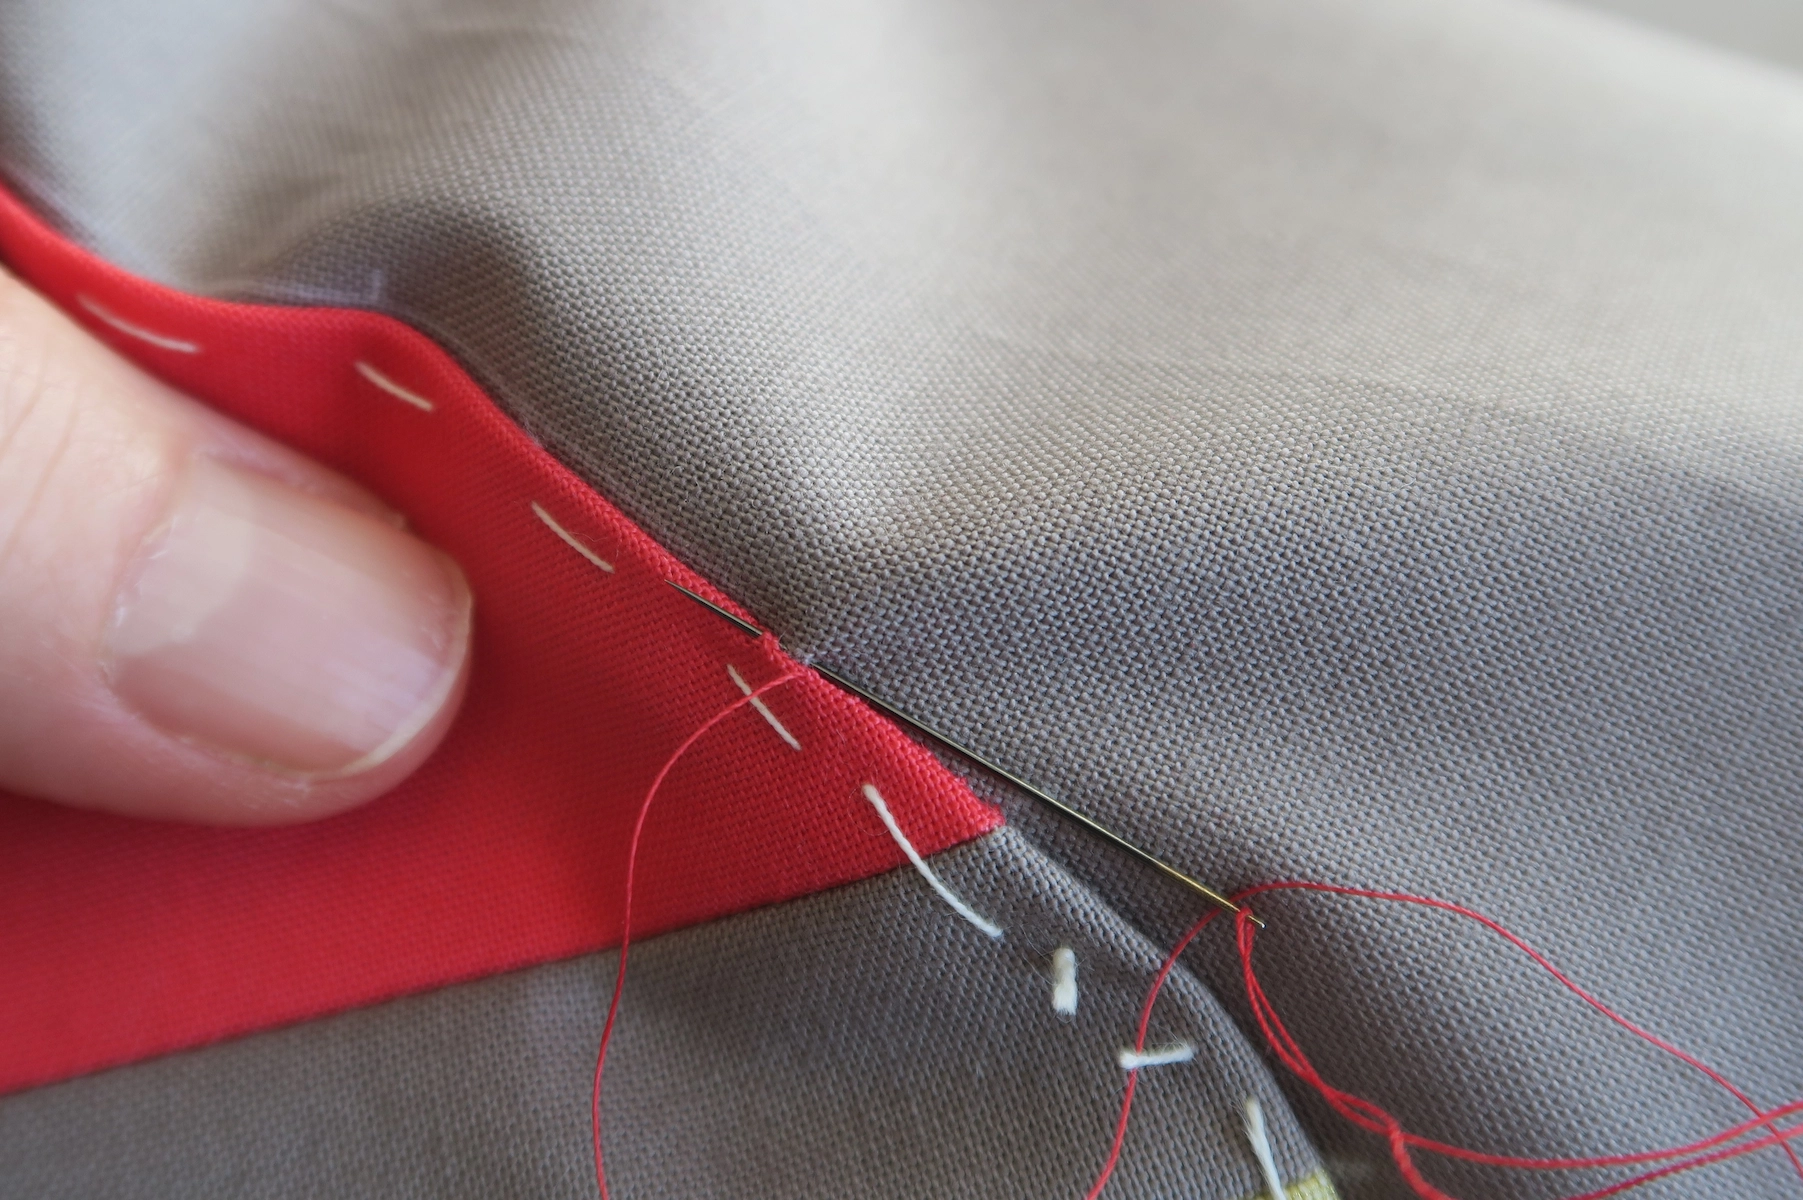
Sew the circle with blind stitches, working from right to left and holding your project so that the fold of the appliqué piece is towards you.
Choisissez un fil fin et une couleur assortie au tissu du cercle que vous voulez appliquer. De cette manière, le fil va se fondre dans le tissu et pratiquement disparaître. J’utilise la gamme de produit Fil à gant de la marque française Fil au chinois mais il existe beaucoup d’autres options de fil à appliqué chez différents fabricants.
Cousez le cercle à points cachés, en travaillant de droite à gauche et en tenant votre projet de manière à ce que le pli de la pièce à appliquer soit contre vous.
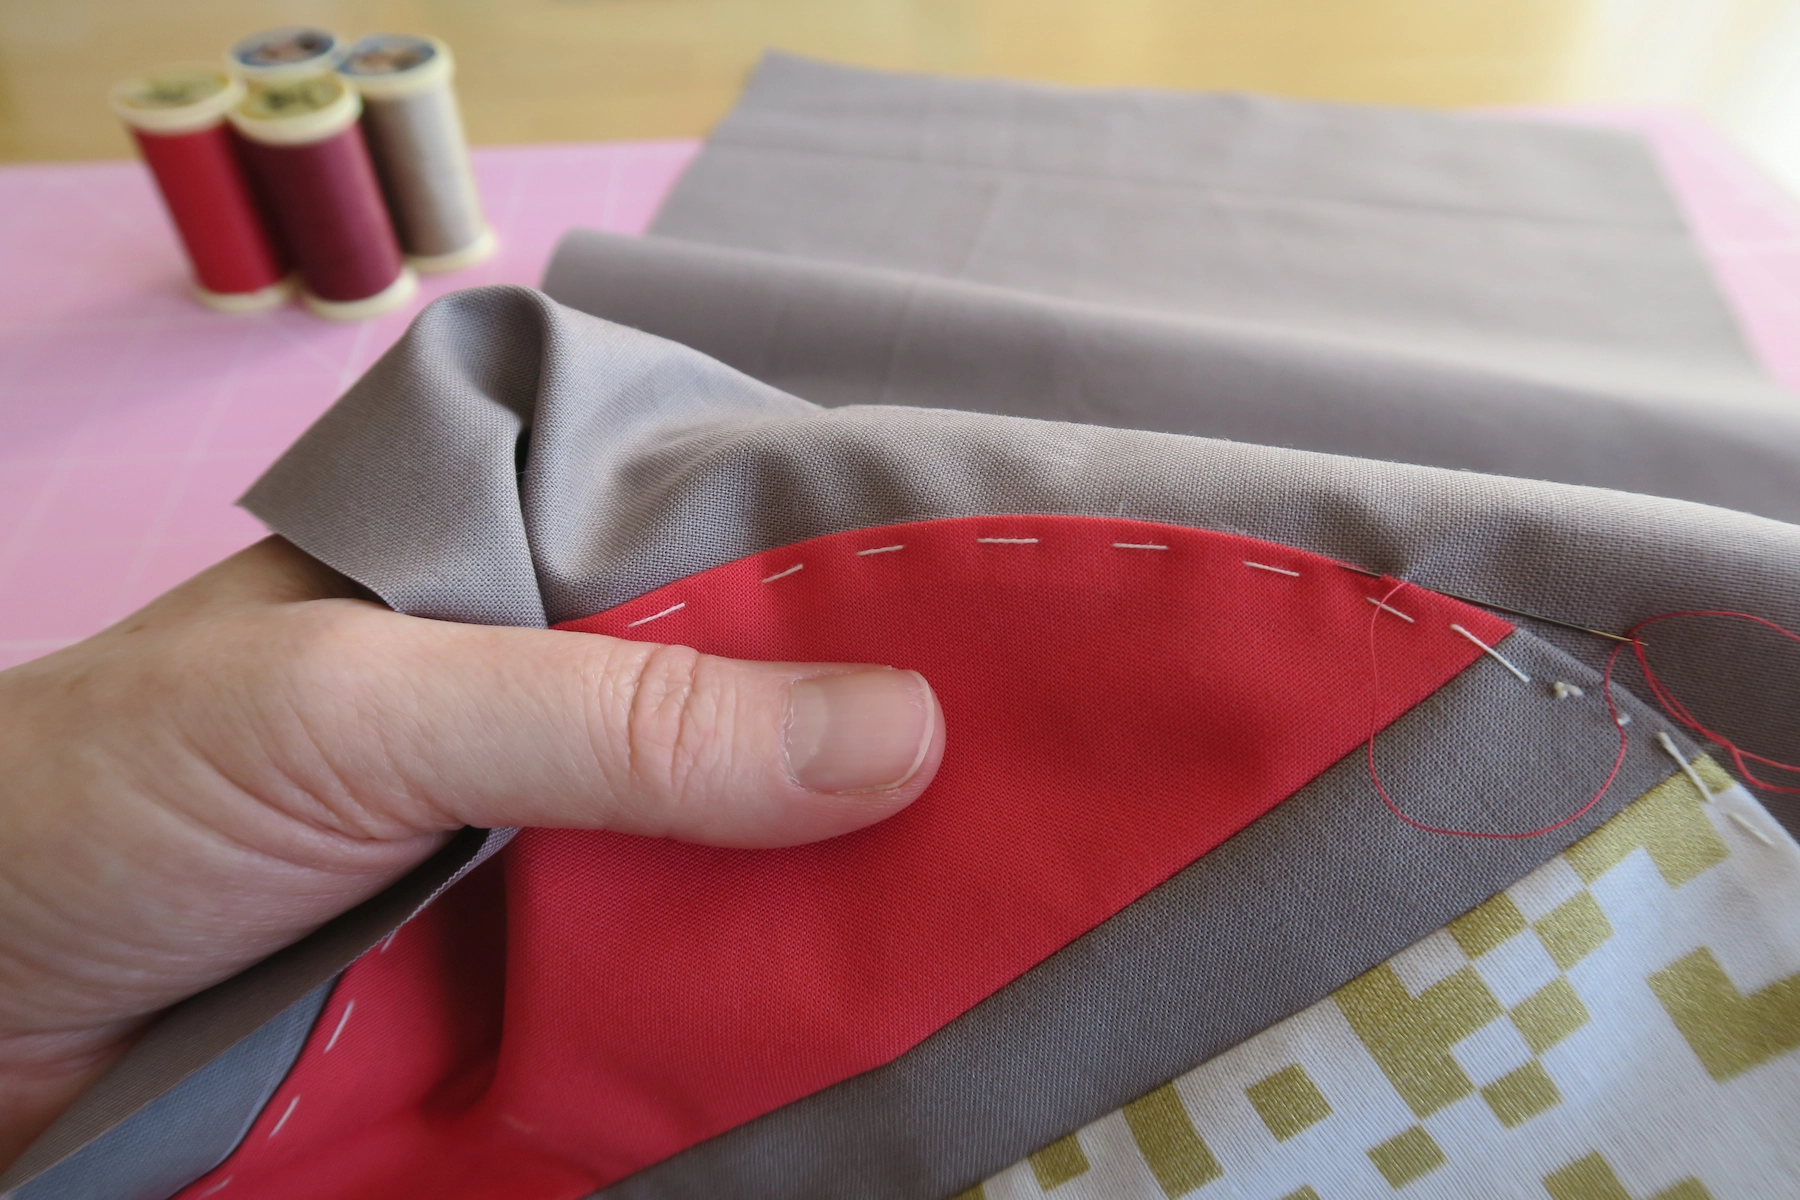
Knot your thread and, starting from the backside, bring the needle and thread through the background fabric and out through the fold of the appliqué piece.
Then with the thread in the fold of the appliqué piece, stitch through the background fabric, directly under, and come out through the fold edge a little further. A straight stitch will be hidden while a slant stitch will be more visible.
Sew all around the circle with small stitches and knot your thread at the end of the seam, on the backside of the piece.
Faites un noeud à votre fil et, en commençant depuis l’envers, piquez l’aiguille et le fil à travers le tissu de fond et ressortez dans le pli de la pièce à appliquer.
Ensuite, avec le fil dans le pli de la pièce à appliquer, piquez dans le tissu de fond, exactement en dessous et ressortez dans le bord du pli un peu plus loin. Un point droit sera caché alors qu’un point oblique sera plus visible.
Cousez tout autour du cercle à petits points et nouez le fil à fin de la couture, sur l’envers de la pièce.
Remove the Background
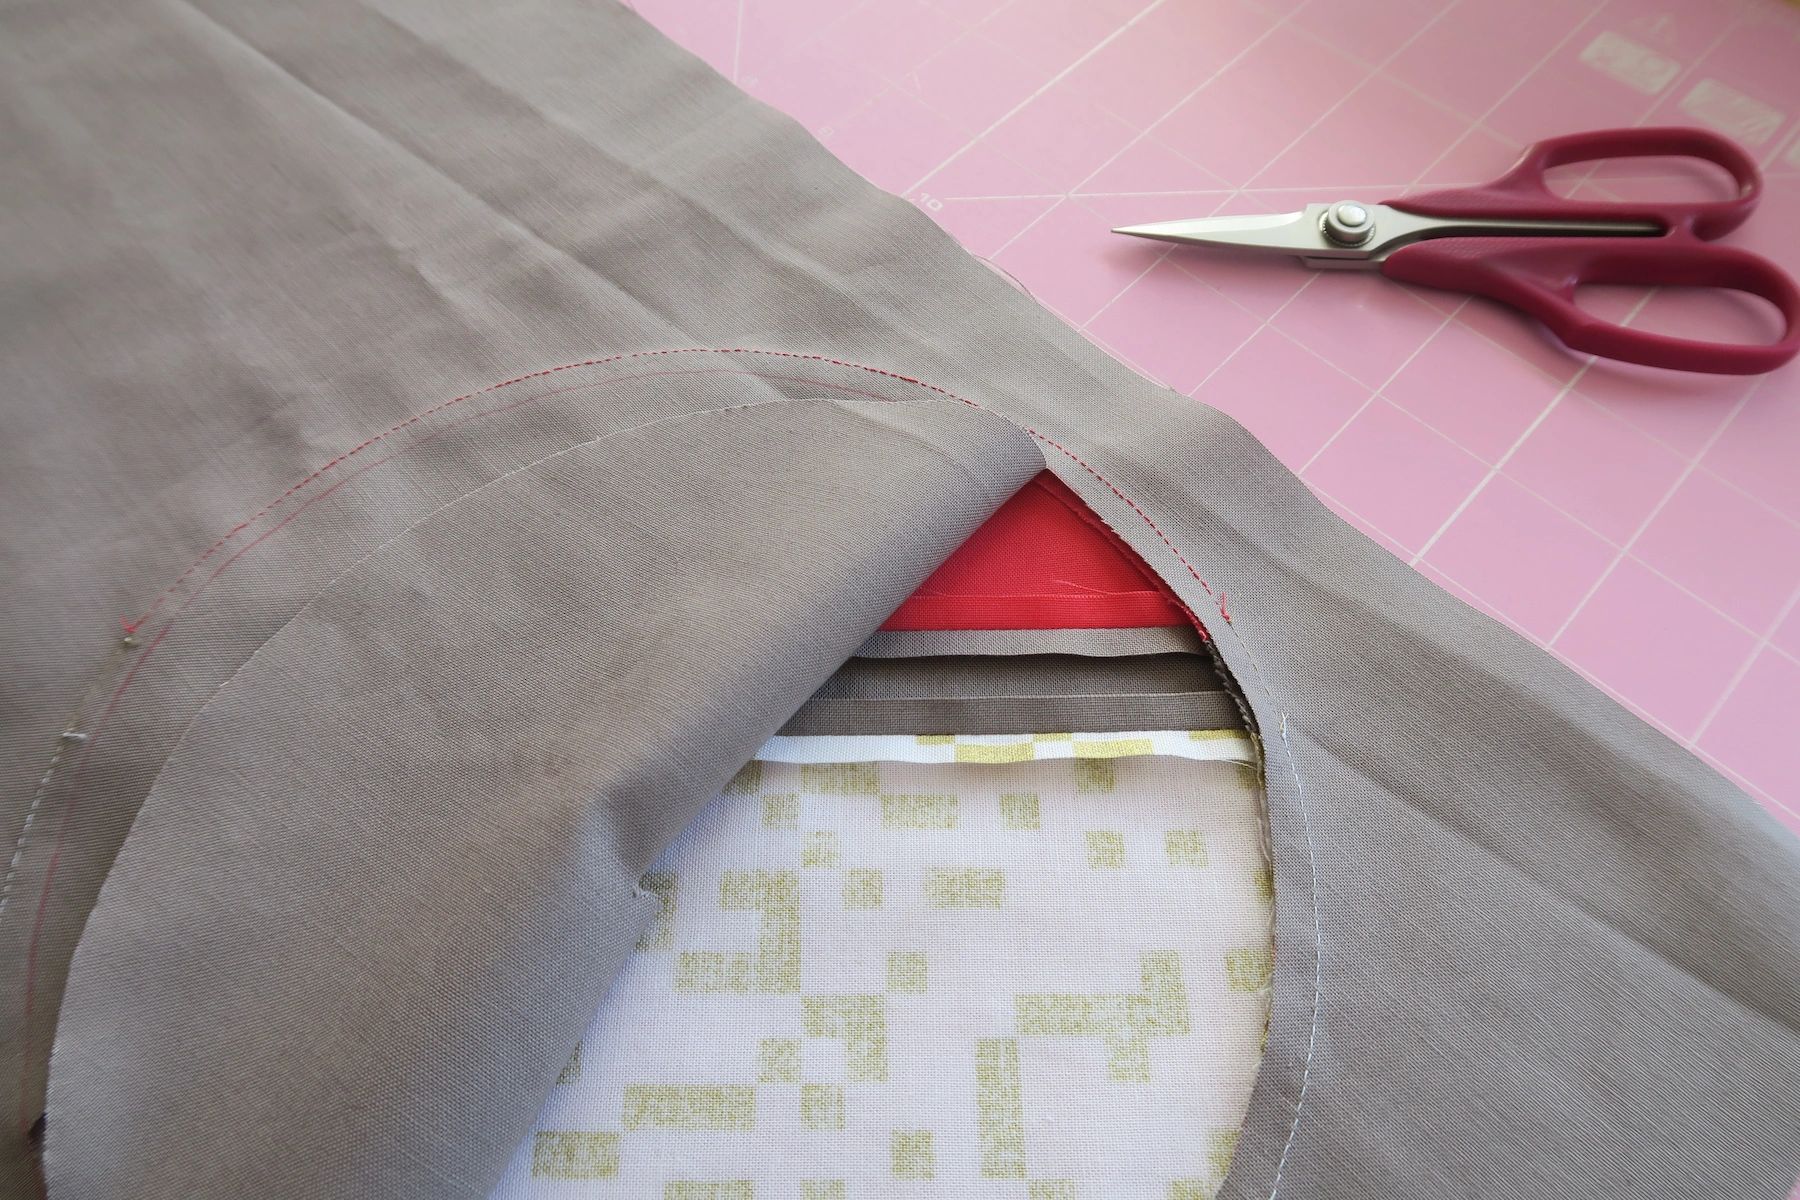
I remove the background fabric under the appliqué piece with very sharp scissors, keeping a quarter inch seam allowance. Make sure you don’t cut into your appliqué piece !
This step is optional of course and you can definitely keep the background fabric. I usually cut it out because it makes my quilt top flatter for the quilting step. It is also better to remove it in case the colour of the appliqué piece is lighter than the background.
J’enlève le tissu de fond qui se trouve sous la pièce appliquée, avec un ciseau très pointu, en gardant une marge de couture d’un quart d’inch. Assurez-vous de ne pas entailler votre pièce appliquée !
Cette étape est optionnelle bien sûr et vous pouvez tout à fait laisser le tissu de fond. Je le découpe en général car cela rend le top plus plat pour l’étape de quilting. C’est aussi mieux de l’enlever dans le cas où la couleur de la pièce appliquée est plus claire que le tissu de fond.